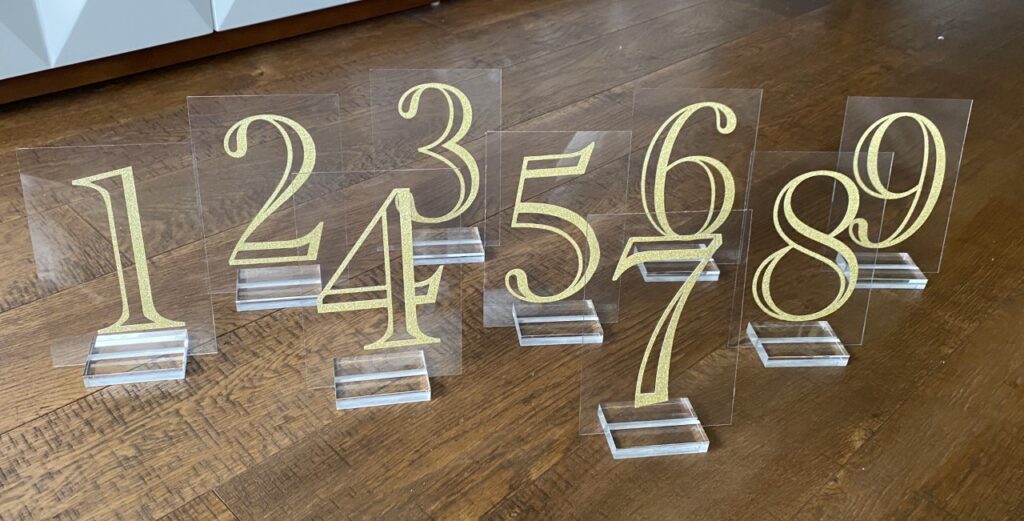
Glitter Table Numbers on Acrylic – An Easy DIY Picture Tutorial
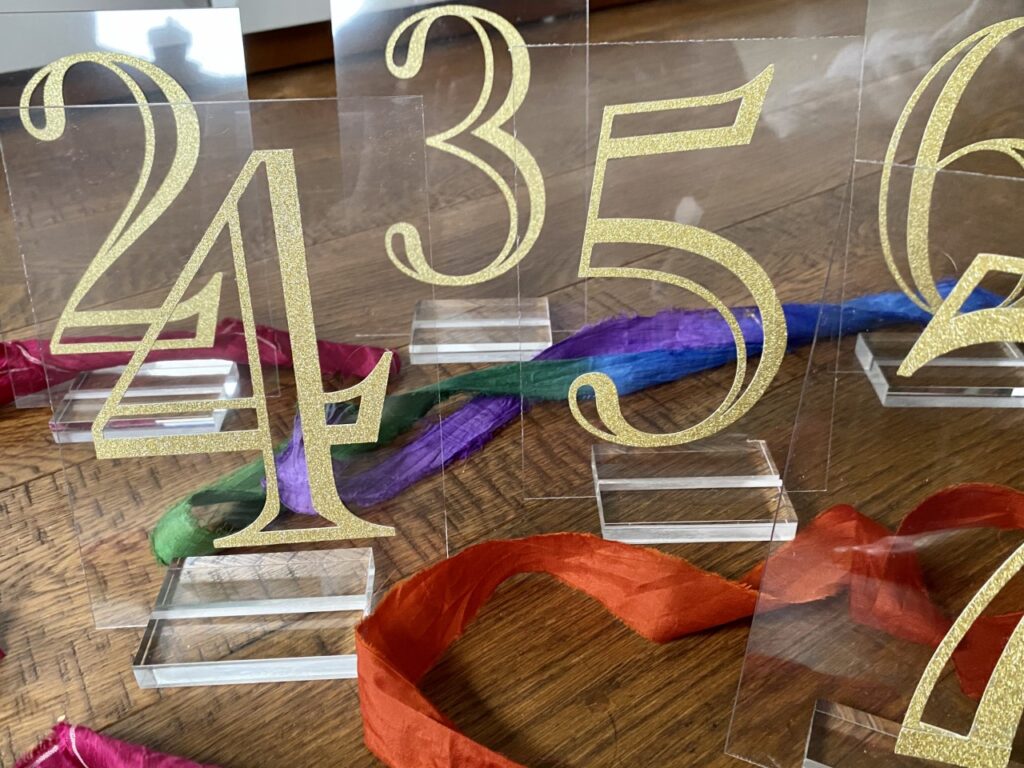
We love these DIY glitter table numbers on a 5″ x 7″ acrylic sheet. Combined with the clear slotted stand, these numbers give the illusion of floating. We got all the supplies on Amazon (links included!) and used our Cricut Explore Air 2 to cut out the numbers using double-sided gold glittery cardstock. Follow our easy picture tutorial to easily do your own! Save money without sacrificing quality. Enjoy!
Acrylic Table Numbers: What You’ll Need
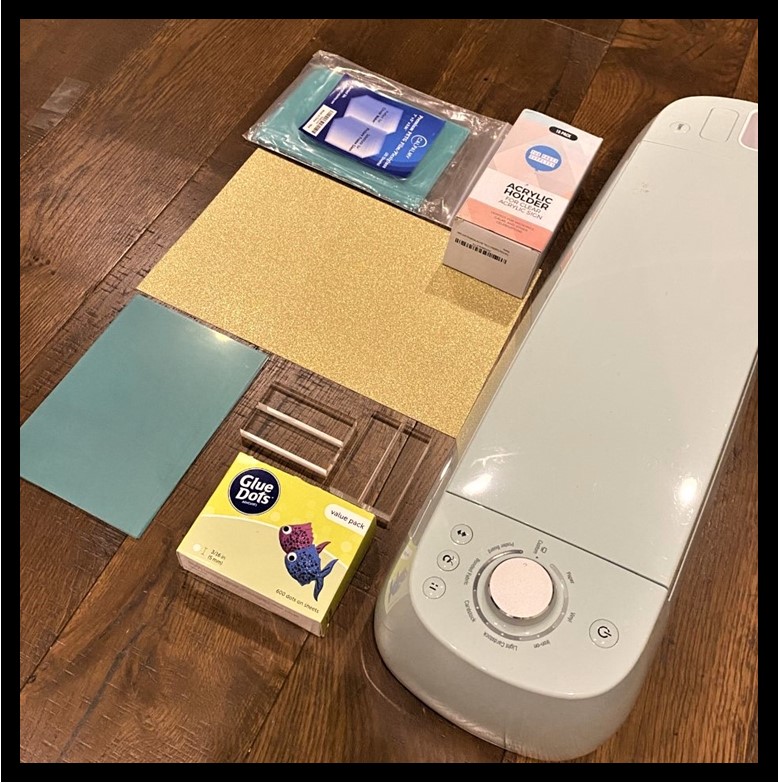
5″ x 7″ acrylic sheets
Acrylic sign holders
3/16″ glue dots
Double-sided glitter gold cardstock
Cricut or any cutting machine
Table Numbers SVG
Step 1: Cut Out Numbers
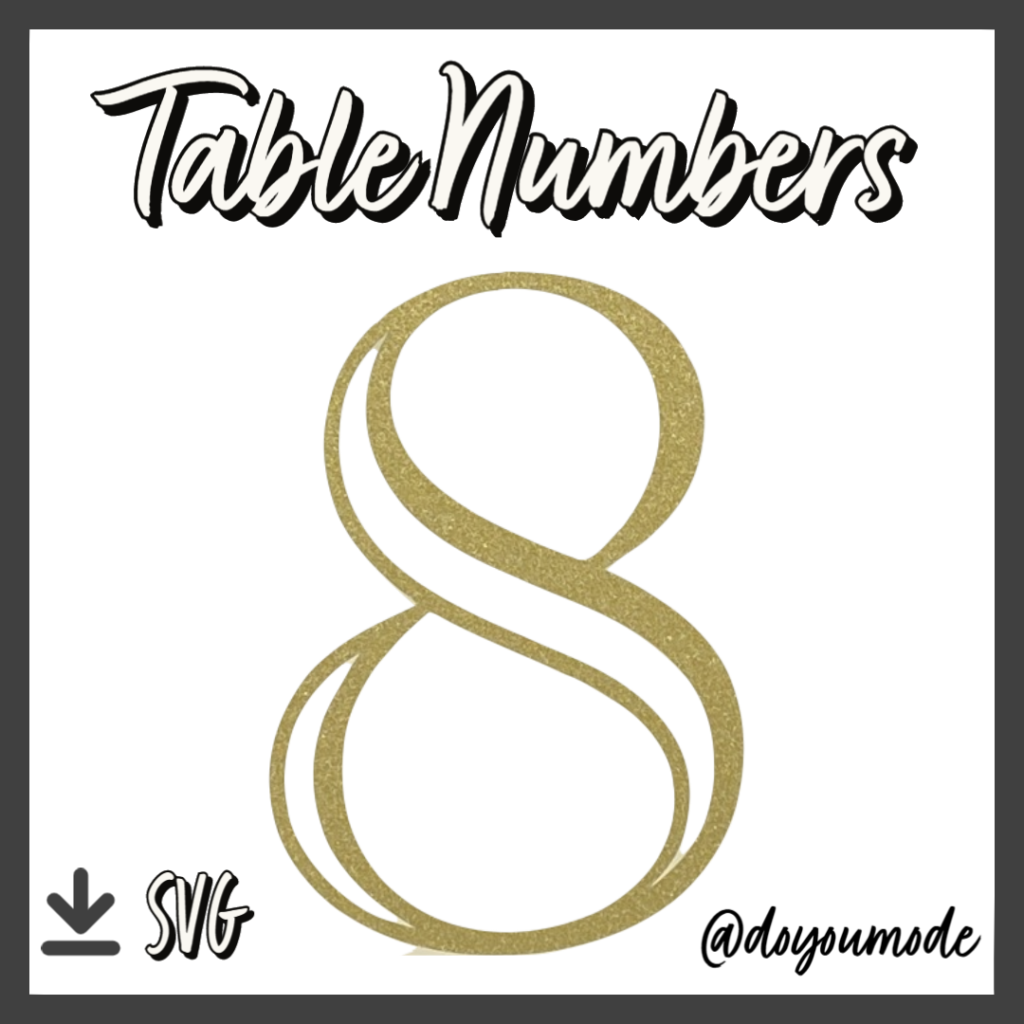
See link above for the double-sided glitter cardstock that we used. We cut our numbers out with a Cricut. You can get the free SVG here!
You can use any numbers you prefer if you have a favorite font you’d like to use. If you want your numbers to be the same size as ours, create your font so that the numbers are about 5 to 5.5 inches in height.
Step 2: Peel Off Backing
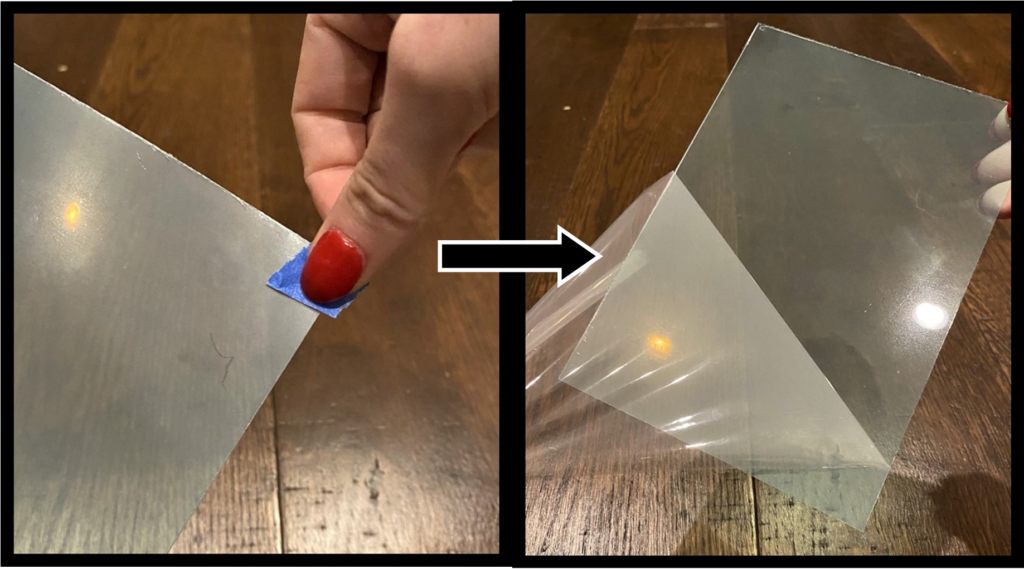
Grab your acrylic sheets and using a small piece of painter’s tape (or any other tape – I like painter’s tape because it easily removes from the plastic film so you can reuse it to protect your finished product), firmly press about half of the piece of tape onto a corner of the protective film.
Note: You only need to remove one side of protective film to create these numbers. You can leave the other side on until you’re ready to use them.
Step 3: Adhere Glue Dot
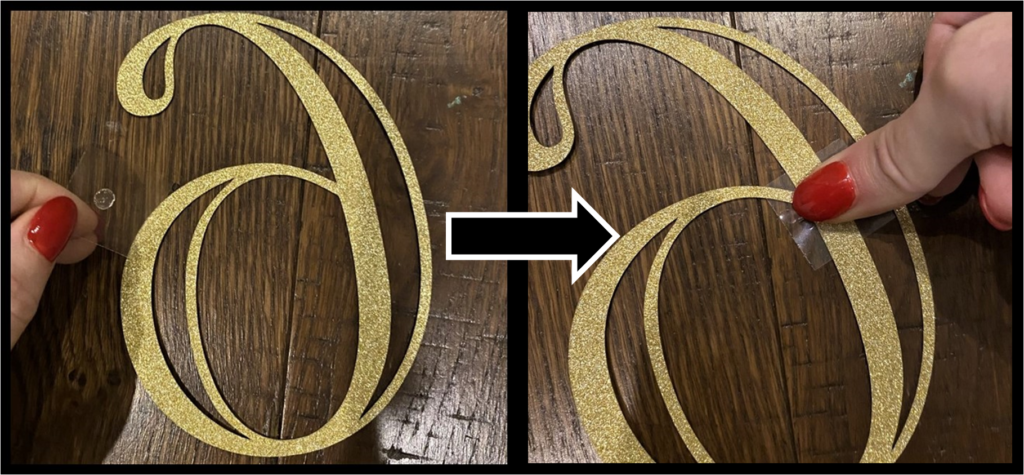
Take one of your glue dots and remove one side of the protective film.
Press the glue dot down onto the backside of your number. Press firmly to adhere.
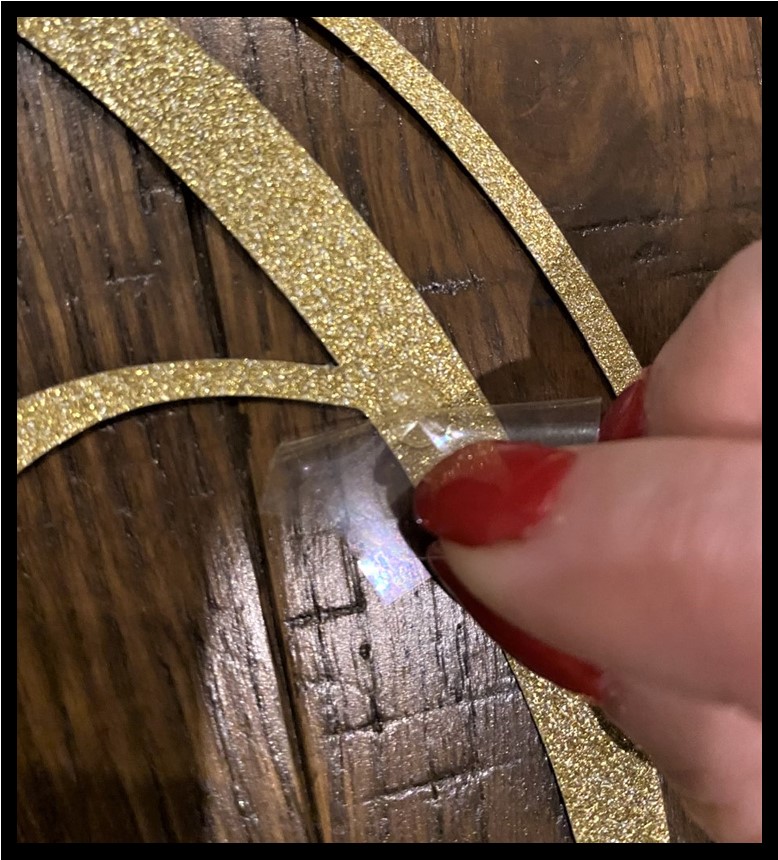
Remove other side of the glue dot’s protective film.
Place several glue dots per number, evenly covering the span of the number.
Step 4: Stick to Acrylic

Place the number evenly onto your acrylic sheet. Leave slightly more room at the bottom to compensate for the small amount of space that will be taken up by the slotted stand.
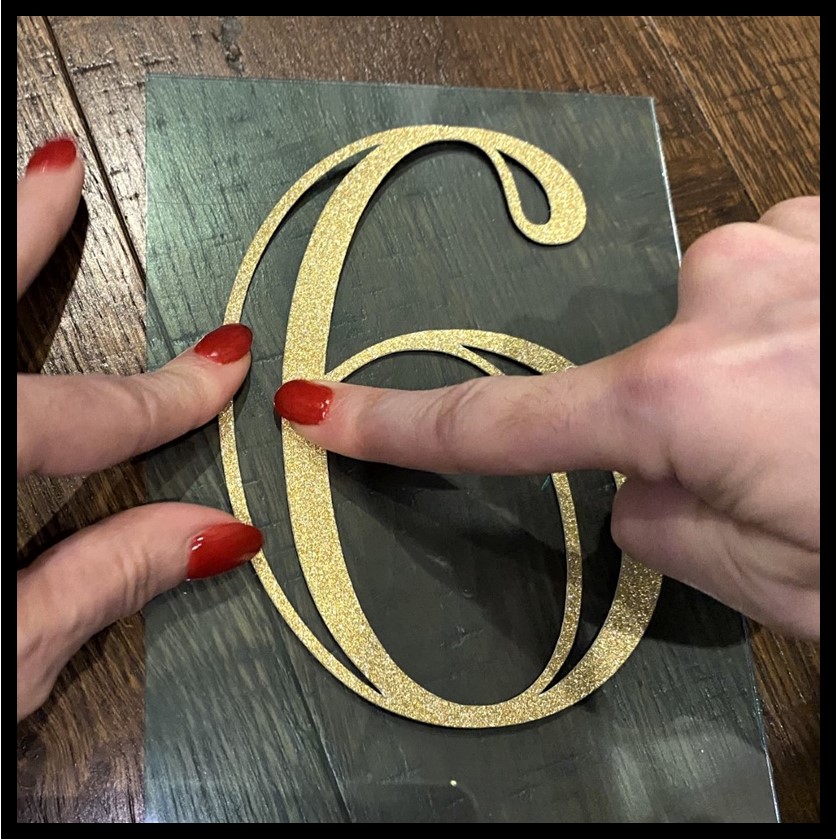
Be sure to press firmly on all the spots of the number where you placed glue dots. Try not to touch the acrylic sheet to avoid fingerprints and smudges.
Step 5: Set it up!
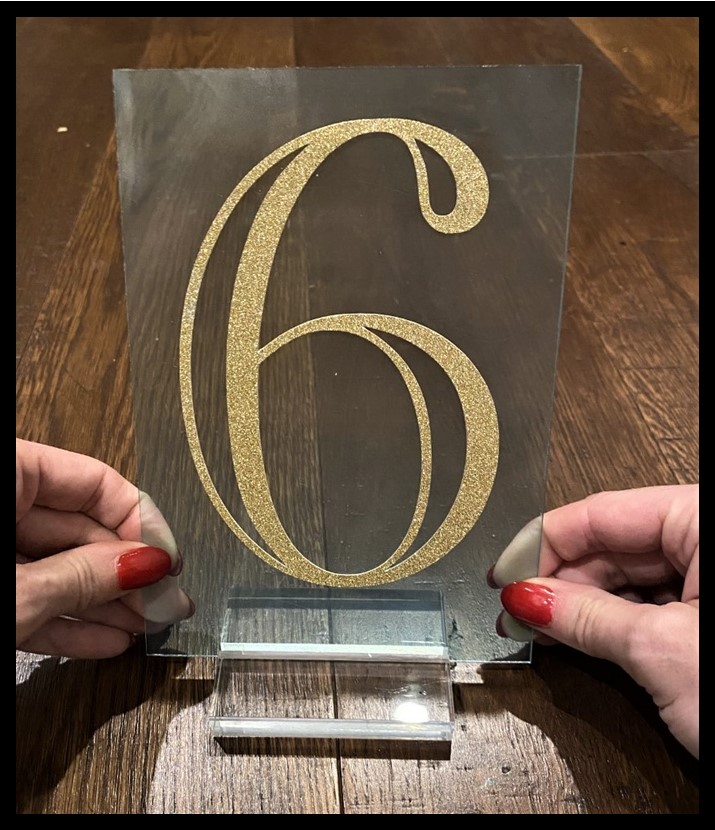
Place on slotted stand and you’ve got yourself a fancy, glittery, acrylic table number!
Note: When you’re ready to use, remove the protective film on the other side of the acrylic sheet if you haven’t already done so.
If you’re storing these numbers, you can place the protective film back over the acrylic sheet to prevent scratching or smudging during transport.

The glue dots are clear and small so you can’t see them on the reverse side of the numbers. Cool right?


Thanks for checking out our DIY Glitter Acrylic Table Number Tutorial!
Let us know in the comments if you made these! We love to see maker pictures.
If you have any ideas or requests for posts or DIY tutorials, let us know in the comments below.
If you liked this tutorial, check out our free downloads page! We have printable matchbox covers, a DIY invitation guidebook, and so much more!
