The 13 Essential Steps to Planning a DIY Wedding – A Blueprint for Success
You just got engaged. Now what? Beginning to plan your wedding can be extremely overwhelming, but it doesn’t have to be! Are you on a budget and planning your wedding all on your own? Follow these 13 steps to planning a DIY wedding and start out your journey freshly inspired and stress-free!
1. Budget

Before you can begin planning, booking a space, or buying a dress, you must consider your budget.
Here’s the general breakdown:
- Food/Catering 40%
- Reception and rentals 20%
- Flowers 5%
- Photography 10%
- Attire/Fashion 10%
- Decor 10%
- Entertainment: 5%
2. Venue
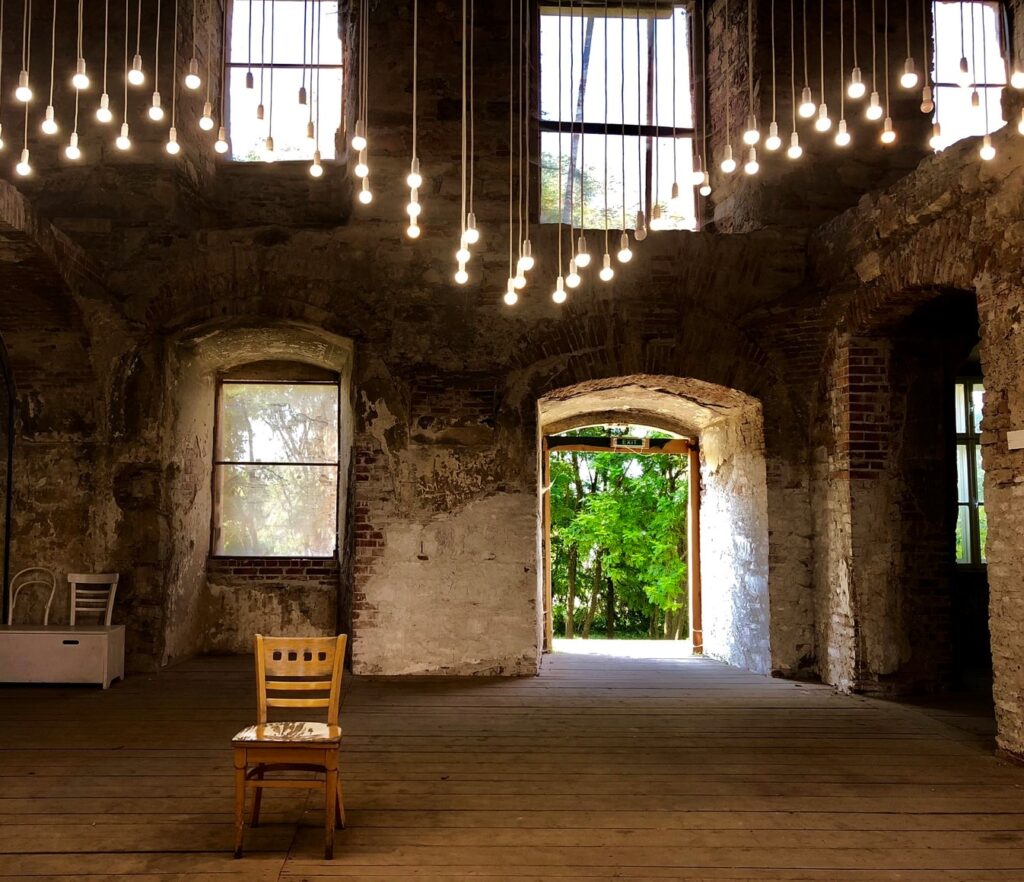
It’s helpful to nail down a venue before you begin planning logistics and decor. You will want to consider the style and formality of your [future] dress and if it meshes well with your chosen venue. Consider using the same space for both your ceremony and reception to save!
3. Save the Dates
Save the Dates are usually sent out before your wedding vision really starts to take shape, so don’t worry about making them compatible with the rest of your wedding decor and invitations.
4. Colors & Theme
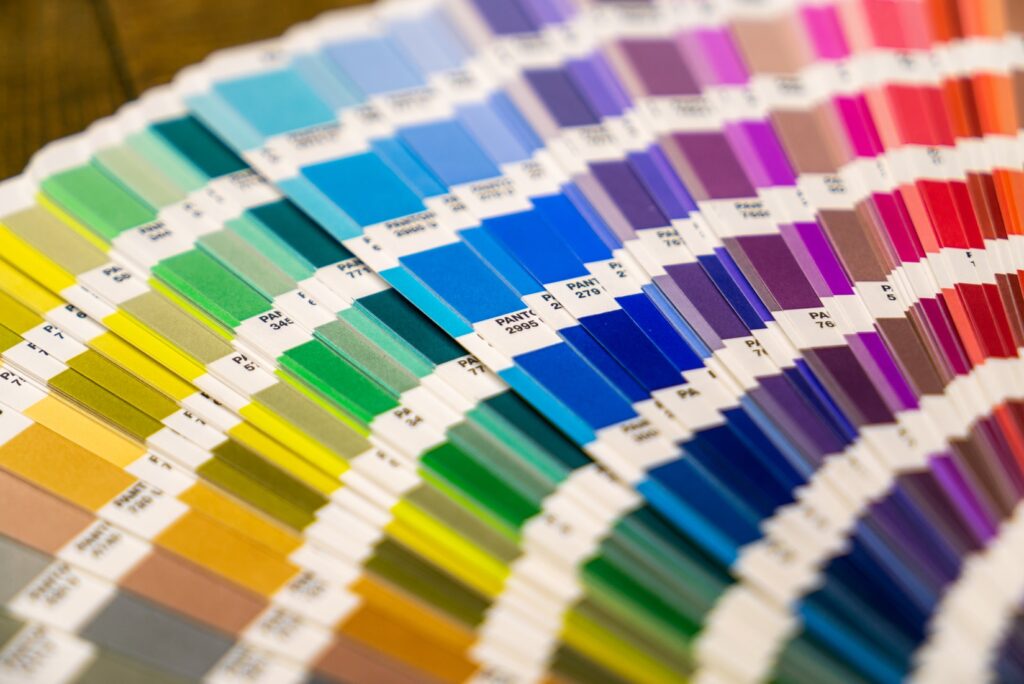
Decide on a general color palette and think about what kind of vibe you want to embody your wedding. Classic? Glamorous? Modern? Boho? Find your own style and stick to it.
5. Dress & Attire
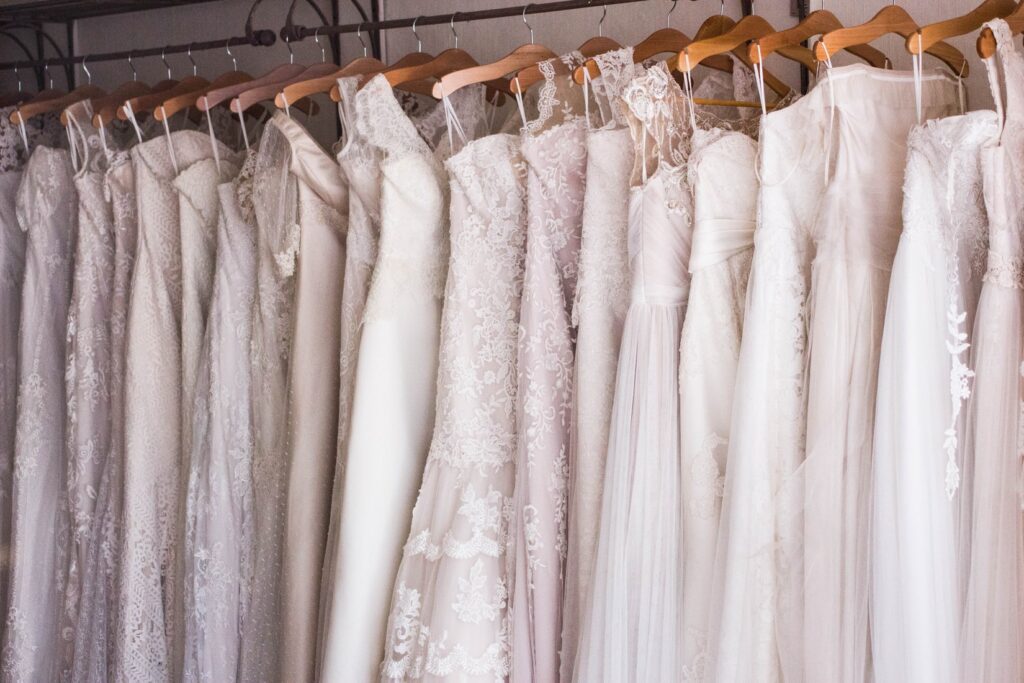
This really goes hand in hand with #4. Your bridesmaids dresses and tuxes will be a large part of your color scheme. You will also want to base the style of your dress in relation to whatever style you’re beginning to envision. You don’t want boho decor if your dress and venue are sleek and modern.
6. Invitations
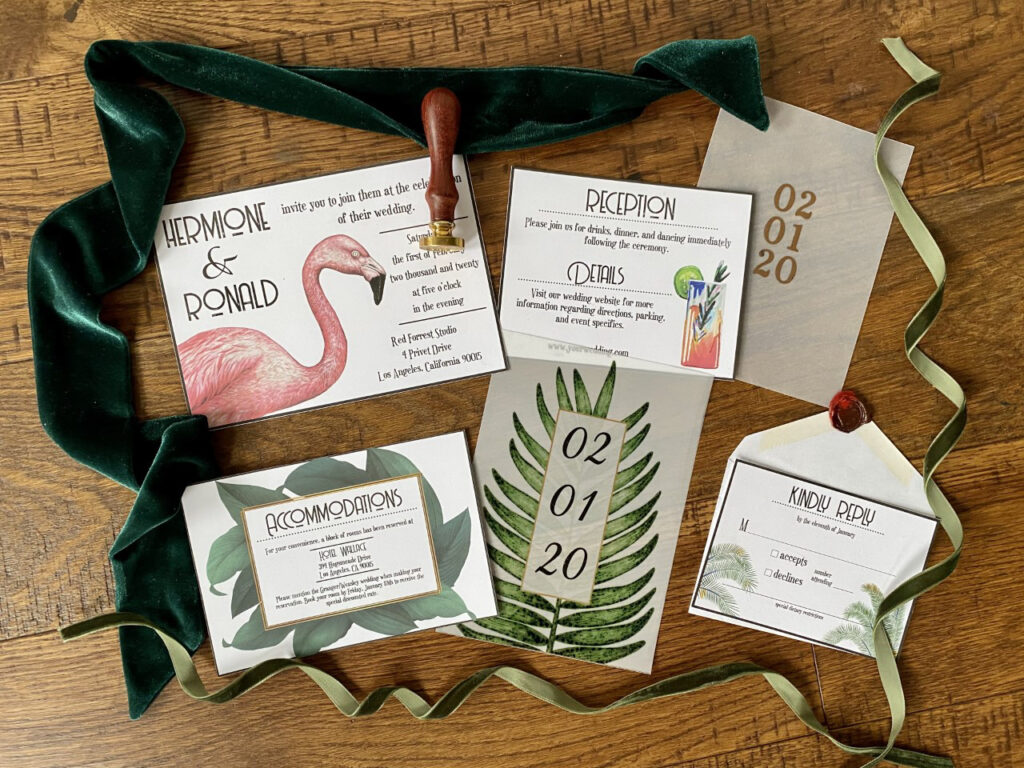
Invitations give your guests the first glimpse into your wedding day. Your stationary will set the tone for what your guests will expect and the level of formality you’re trying to convey. Stay tuned for another post on how to make your own invitations!
7. Map it Out
.
Along with #10 below, mapping out my reception and ceremony space saved major time, money, and anxiety. With a visual layout to guide me, I was able to independently plan rentals and placement of decor. It laid the foundation for designing the entirety of my wedding and I honestly don’t know how anyone can possibly plan an event without this key step. I used an amazing free tool called allseated (no promo here, I just really freaking love this site). It allowed me to map out my reception and ceremony room to scale. To scale, guys. Check out my intro post on how to use allseated and why it’s so useful.
8. Rentals
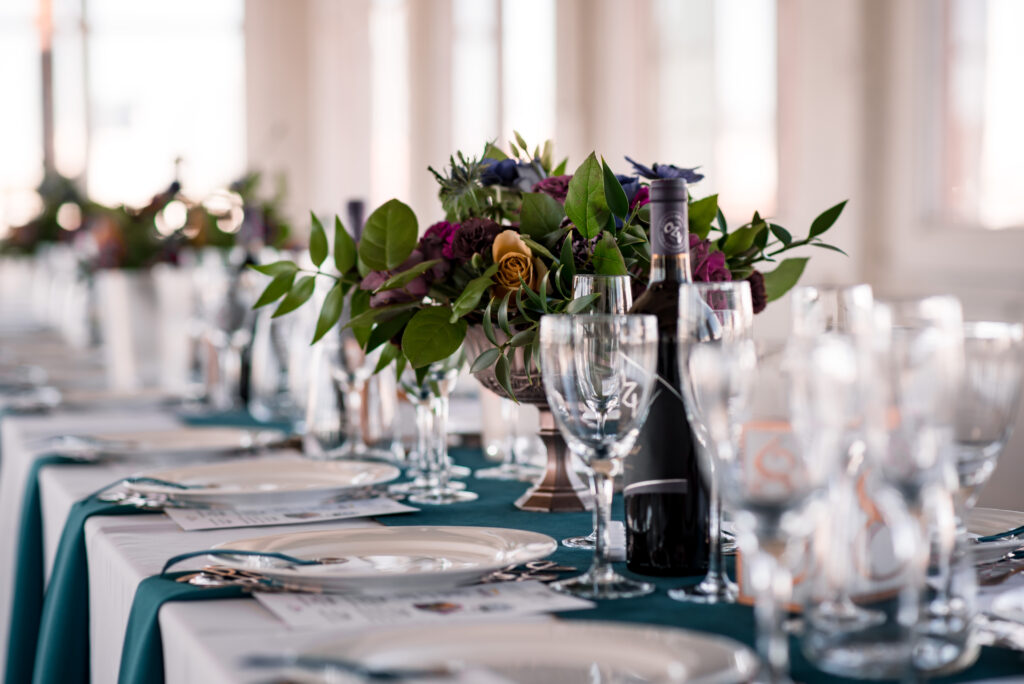
Now that you have your venue, know the dimensions of your spaces, and have a general idea of the colors and theme you’re pursuing, you can rental shop. There are so many rental companies online that list their entire inventories (and price lists) so you can browse all different types and sizes of chairs, tables, dinnerware, etc. and create a rental order all from your home computer! Some companies specific to the LA area include the Rental Ave, Pico Party Rentals, and Signature Party (again, no promos here…these sites just provide a good example of online inventories and product lists). My best advice is to check Yelp and other reviews before committing to any kind of service or vendor for your event.
9. Decor
.
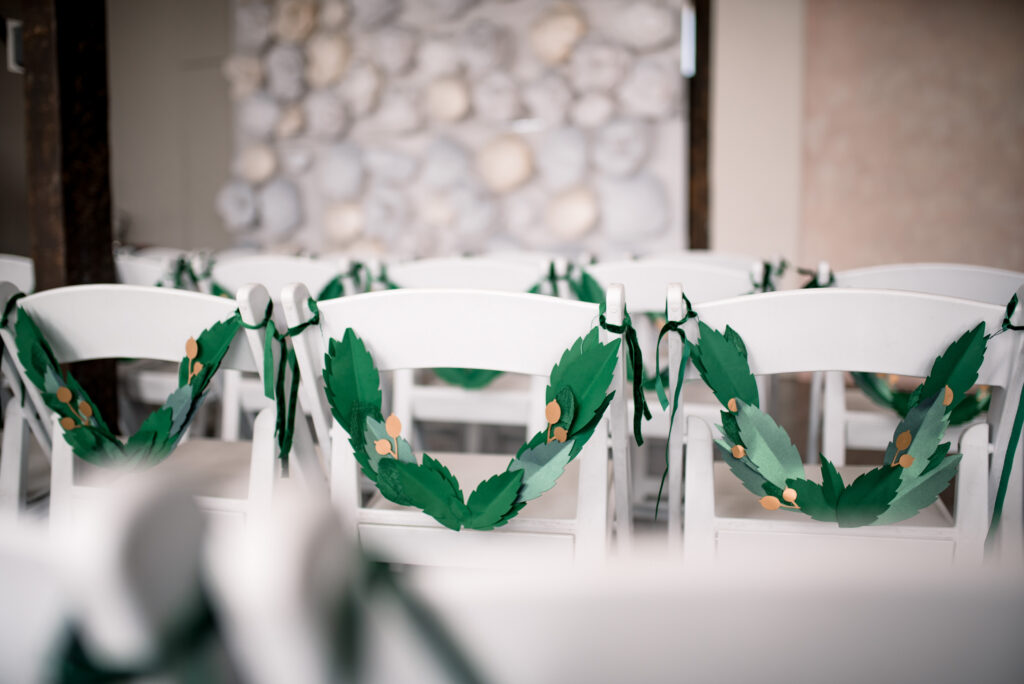
Now that you have rentals, a venue, and an idea of your attire, you can get to the small details. There’s a lot to think about, such as centerpieces, guestbook, signage, favors. Do you want chair decor? Begin buying early so you’re not stuck figuring out decor at the last minute.
Budget saving tip: Use sales like Amazon prime day (July 15), Black Friday, and post-holiday promos to buy decor and other wedding items at marked down prices.
10. Diagrams
.
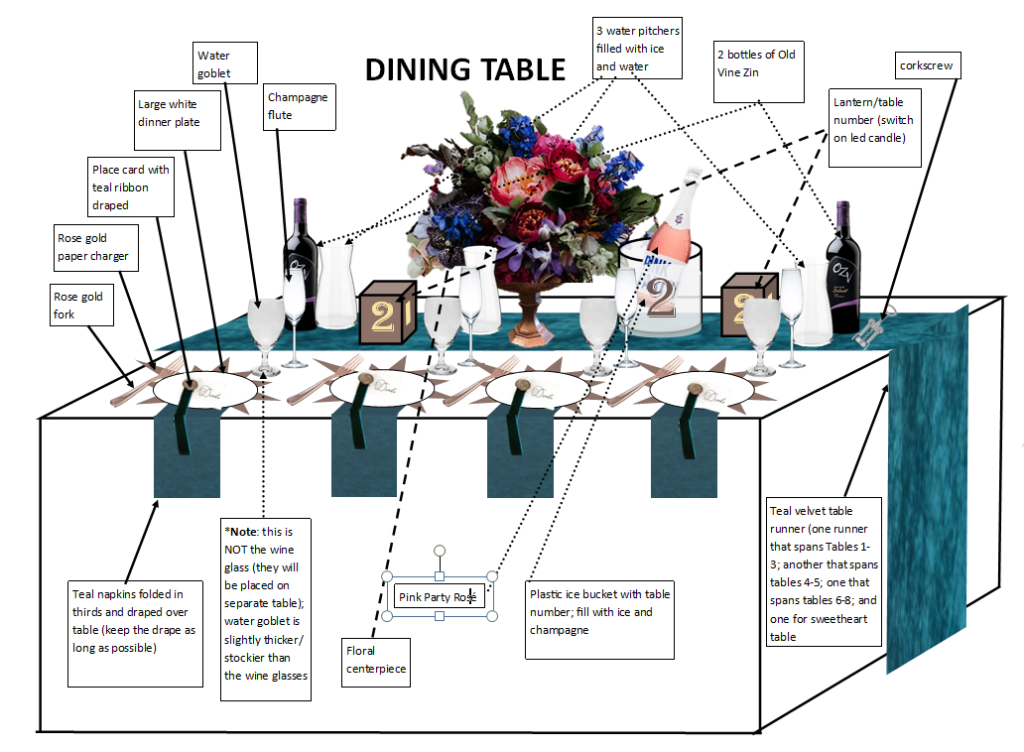
This may very well be the entire reason my DIY wedding was successful and turned out exactly how I had envisioned. If you’re not using a wedding planner or hiring help, you have to figure out how your reception and ceremony will get set up. What do you want your guestbook table to look like? Your dining tables? Ceremony backdrop?
I essentially made a picture diagram of every single table and decor item that was to be set up for our wedding. On our wedding day, I ended up spending the majority of my morning getting hair and makeup done, so I needed a lot of help with set up. I had a map of everything. So instead of stressing and anxiously wondering if things would look exactly how I envisioned, I made sure of it. I handed out my little diagrams to all the friends and family that came to help set up the day before/morning of, and everything ended up exactly how I had planned.
11. Flowers
.
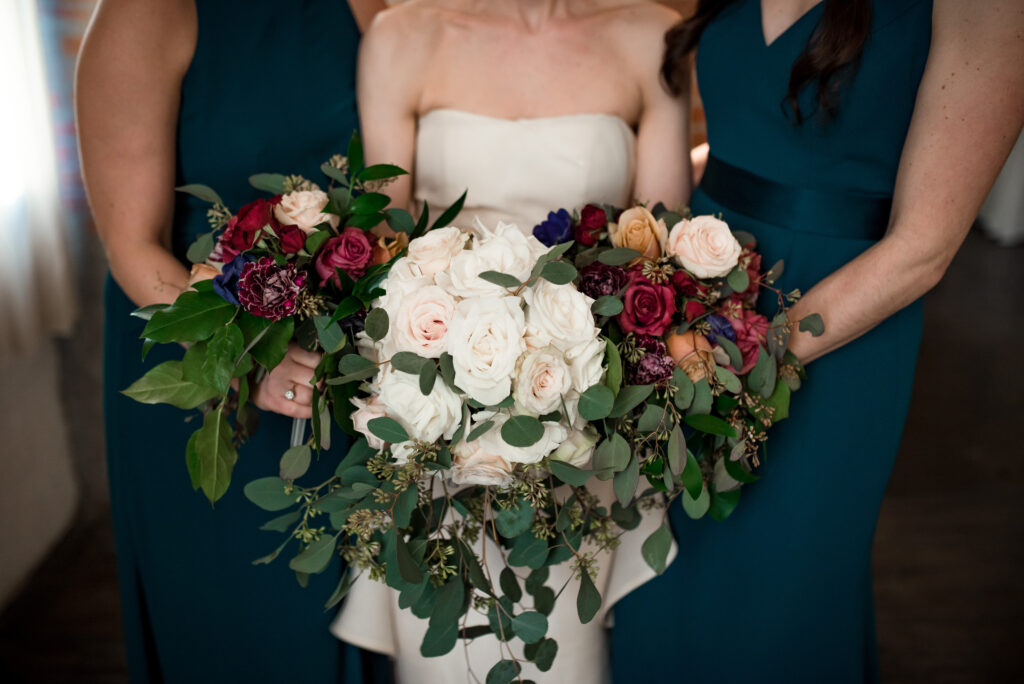
After you’ve established a color scheme and map of your venue, you’ll have an idea of how many flower arrangements you’d like, the size and color, and where you will place them. You can always hire a florist who will help you decide what you need. I chose to save some money and bought the flowers wholesale and arranged them myself. Stay tuned–I’ll share my guide on DIY flowers soon!
12. Store it!
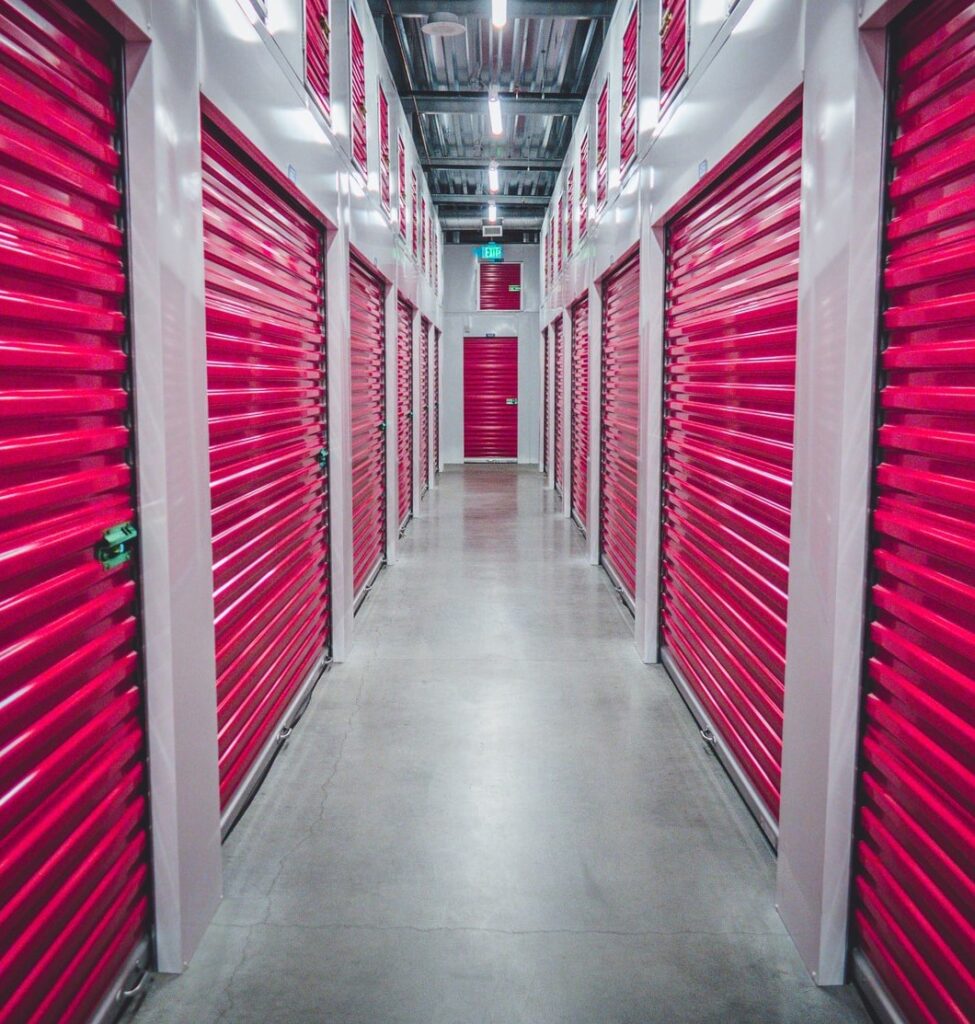
I cannot stress enough how important it was to plan everything far in advance. Once I created our wedding favors, I put all the decor for the favor table in one box, labeled it, and put it in a storage unit (located conveniently across the street from our venue!). This was the first item I put into storage about a year before our wedding date.
Once I had all the decor and supplies for the guestbook and gifts table, I gathered them all together and placed them in a labeled box. I continued to do this with the rest of our wedding decor. This way, you have all of your items organized and prepped for easy set up. Use your diagrams from #10 and pair with each box. When it comes time to set up, you can hand off a box and diagram to a friend/family member without any anxiety of how it will all turn out!
This is also a great way to make set up special and increase the amount of time you get to spend with your family and friends the weekend of your wedding/event. It’s a win-win!

13. Recruit & Assign
.
If you do choose to do everything yourself, make sure you have a few family members or close friends who are committed to helping you set up. I highly recommend contacting your venue manager to see if you can set up the evening before. They may require an extra fee or hourly rate, but it’s totally worth it.
This is also a great way to make your wedding (or event) weekend extra special and include more than just the bridal party. Spend time with relatives and friends you may not see very often.
That’s it folks! How to plan your wedding in a nutshell. What did you think about
The 13 Essential Steps to planning a DIY wedding?
Have some advice beyond the 13 essential steps to planning a DIY wedding? Feel free to comment with any questions or any other helpful resources you’ve used to plan events.

Want to stay updated on posts? Choose your type of content. We’ll never send you spam!
